Testors Me-163 – Wings On, Canopy Masked

Now that I have an airbrush for the first time, I can really work on the fit and finish of my exteriors. I think this is going to be a great opportunity to really push that on such a small aircraft that I can put lots of time into the exterior on.
 I’m also excited as part of that to really do a good job making the canopy look like it’s fully sealed to the aircraft. Something past models didn’t do in appearance or actuality in most cases. Got this baby taped up well with Tamiya tape, which I highly recommend to anyone who’s not used it before. If you were used to almost anything else (in my past I used everything from scotch, to masking, to electrical tape), you’ll be super pleased.
 I also got my paint mixed per the Testors recipe from the kit. Knowing it’s their mix and their paints, I’m thinking it’s fairly accurate. They look good to me anyway. 🙂 The real test will be do I have them thinned properly. As a newbie to airbrushing enamels, the proof will be in the pudding.
I got the wings on and positioned properly so I can begin to get rid of the seam there. I filled it with the same putty I used in my younger days, Testors. I’m reading about other ways to do this too: specialty putties, super glue, ‘gap filler’ products. I’ll probably try any number of things. I’ve got some decent sanding products to work on this too. Both high number sandpaper grits (up to 4000), and some sanding cloths in gradients. I’m also prepared to rescribe panel lines if needed. I’ll be using a pin vise for the first time. Reading, reading, reading about techniques. I’ll need to try applying them!
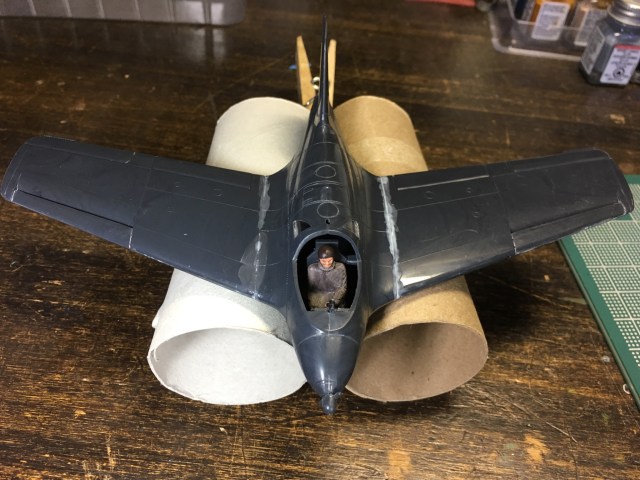 Made a jig to hold my airplane for painting and other work.

It’s going to be finish of mine day, but before ending I
am reading this fantastic paragraph to improve my know-how.
LikeLike