
It’s a model with a low parts count for sure and so far off to a pretty good start. The fuselage halves fit pretty perfectly, with a slight rise on one seam side and some panel lines off just a titch, but I’m experimenting with re-scribing as I’ve not done in the past, so I’ll get them to line up that way.
 The extremely minimal mounts for the extremely minimal cockpit happened to line up fine, I think that was good luck mostly. The cockpit is pretty bare as you can see and I’m not going to see it that well through the bubble canopy later, so it’s just as well.
 The wings were also very clean going together and I really love the detail on them. I’m not sure how tightly they’ll fit to the fuselage; we’ll find that out later on. Feels like fun fast progress! That probably means something will really surprise me later on.
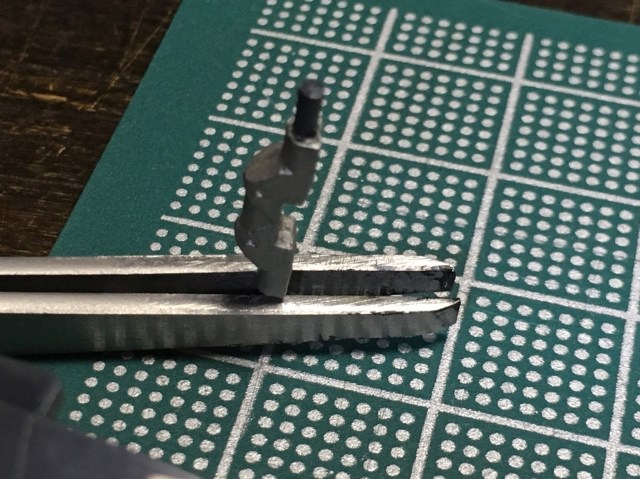
Axle for drop-away dolly on take off.

Just getting my feet wet with this model and thinking about how I’ll be using my new airbrush for the first time.
I’ve been thinking about all the models I saw on boxes when I was a kid that had those hazy airbrushed camouflaged forms on them. I was envious of the ability to make that look so much like the real thing. As I’ve started working on this one, I have learned (not new to most of you out there) that sometimes the camo fades in gradients like that, but sometimes it’s clean, crisp lines too. All depends on the time, the camo needed, and the country doing the camo.
I’ve also read quite a bit about folks who re-scribe, re-rivet, re-everything sometimes when they’re working on sanding seams away or making panel lines correct. Some people are pretty fanatical about that kind of thing. I’ve mostly always tried to keep the lines as clean and still in place as possible while still removing seams, but I’m up for learning new techniques I didn’t use in the past.
As this model come to me for $2.50 from eBay, and as it’s pretty darn small. I’m up for experimentation and trying to go the whole nine yards. Within reason.
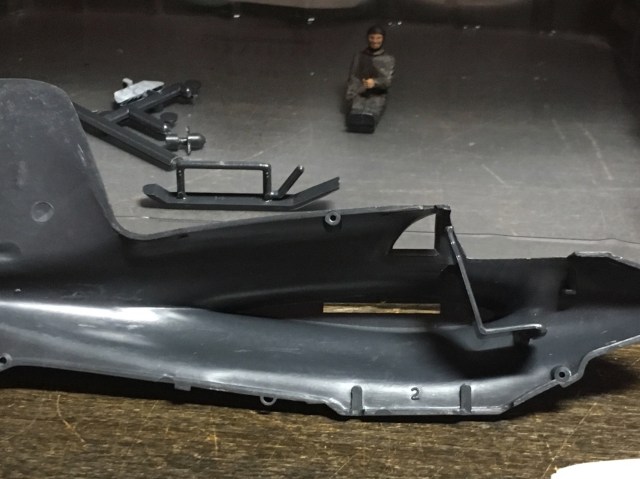
Not much of a cockpit in this Testors Me-163, but it’s not very visible either with cockpit closed. I’ll be going for detail where it matters on this one, mostly the exterior.

I want to preface everything I say here about WWII nazi aircraft. There were some amazing technological achievements, hard-won despite foolish leadership and disgusting purposes. I hate nazis, the third reich, hitler, the ss, anti-semitism, racism, and everything the axis powers stood for. It makes me angry, sad, and outraged that brilliant ideas and minds turned their work to the darkest purposes so far known to humanity.
The technological residue from the work these aircraft designers found its way into so much of the jet and space age that made the 20th Century a period of remarkable innovation. Captured German technology from things like the V2, Me 262 and Ho Horton 229 turned up in the American space program, the first American & British jet fighters, and the NM-1, YB-35 and YB-49 flying wings that eventually led to technological achievement of the B-2 bomber.
I need to be as clear as I can be: it’s the achievement of this technology, scientific and historical interest, and a love of aviation that brings me to this aircraft, not a fascination with a disgusting regime. It’s why I will never put a swastika on any historic German aircraft I build. Nazi ideology, old or new, has no place in my modeling.


Now, on to the Komet.
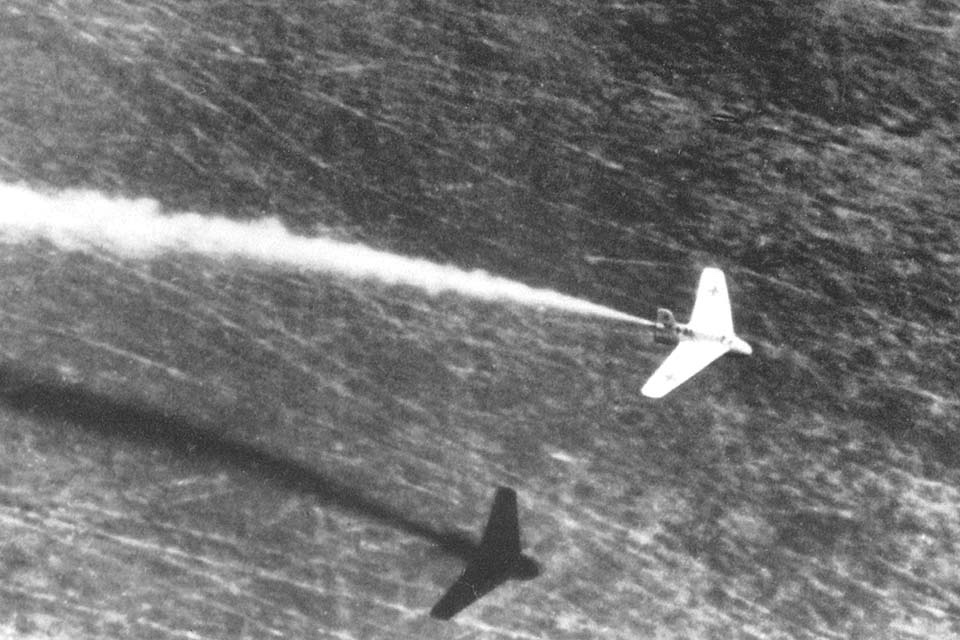
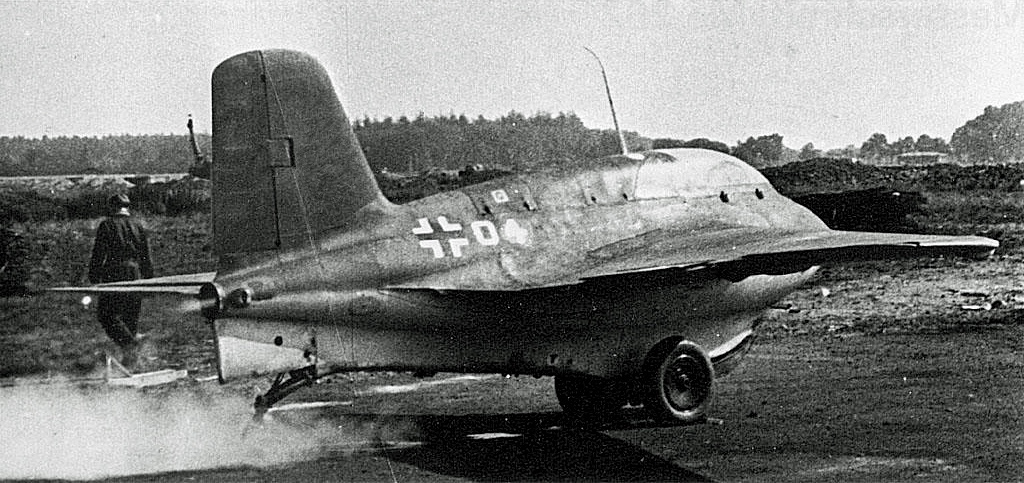
One of five V-series Me-163 test aircraft makes a low-level powered flight at the Peenemünde-West field near Germany’s Baltic Sea coast. (National Archives)
This aircraft has fascinated me for a long time. It’s the only one of its kind, born of all sorts of necessity, a real engineering marvel for its time, put to a horrible purpose. The Armistice of WWI only permitted Germany unpowered aircraft. German aircraft designers necessarily became designers of gliders.
Alexander Lippisch was one of the great glider designers and began the work on the Me 163. As a mostly tailless glider, it’s an odd bird already, but add to that it being the very first and only rocket powered fighter ever produced. Me 163s were filled in separate tanks with “T-Stoff” and “C-Stoff,” two volatile compounds that reacted violently with each other. So violently, the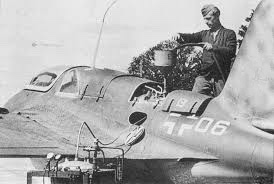 re were strict rules on refueling, ensuring the fueling trucks of the two were never together and that any spilled fuel of either kind was well washed away before the next was trucked in or put in the tank.


The Me-163 was a remarkably short-range fighter. It’s fast deployment made it valuable to Germany in defending factories. Unlike conventional prop fighters of the time, it could be in the sky engaging allied bombers in under 15 minutes. Unlike conventional prop fighters of the time, it could only remain in the skies for about another 15. Komets were placed on airstrips close to the factories they defended with pilots on constant alert, ready to fly at any moment.
 That flight experience was like nothing before. The thrust of the chemical rocket engine took the Me 163 from ground to a remarkable 39,000 feet at speeds up to and exceeding 550 mph. The Komet flew up into the bomber formation, would initiate a few firing runs on what fuel it had and then essentially became a glider again, gliding in a smooth arc back to the ground.
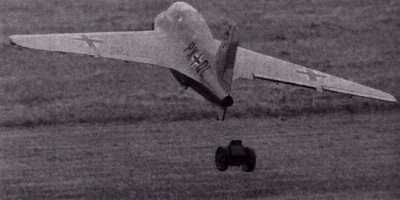 Seems like just what the axis needed at the time and the perfect aircraft to confound allied pilots, but it had remarkable limitations like most brand new technology. It took off on a wheeled dolly that it would jettison when it was up to airspeed for its climb. If pilots dropped the dolly too soon, it could bounce back and hit the Komet, causing instantaneous explosion of its chemical fuel.
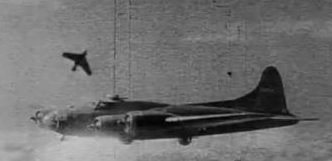 Coming upon the bombers for its attack run, the Komet was moving so fast relative to the prop planes it was attacking, it only had a split second to shoot before the target flashed by making it incredibly difficult to do more than harass bombers.
On the way back down in glide mode, the Komet was a sitting duck for escort fighters who picked them off, well, like ducks. If you did make to the ground as Komet pilot, you were then dependent on a skid dropping down into place as your landing gear or landing on the center rib of the fuselage. With no spring in the landing system, even with the skid down, more than a few Komet pilots suffered back injuries on these landings, some severely. You’d need to keep it upright until you slowed your skid enough to let a wingtip skid on the ground like a traditional glider. Mistakes here led to spins and flops of the aircraft.
All in all, a technological marvel, but sort of like rigging a manual typewriter as the keyboard for your computer; it’ll work, but it’s nasty.


The Testors kit I got was from the early 2000s I think and I only paid $2.50 on eBay for it! The box was beat up, and arrived both ends open; I was even worried about if all the parts were there, but there aren’t that many parts in this kit and it looks all there.
That said, $2.50 kit, new air brush ready for my first airbrush finished model? I’m feeling 0 restrictions. It’s time to have some fun!

Really fun, and really happy with how this turned out!
Some of the decals were way past shot and just wouldn’t sit down no matter how much Micro Sol I put on them, but I wanted the craft to be clean and simple, wheels up, bomb bay doors up. You can even see just a bit of the green glow in the cockpit!
Here’s looking to whatever comes next. The stash is starting to build!
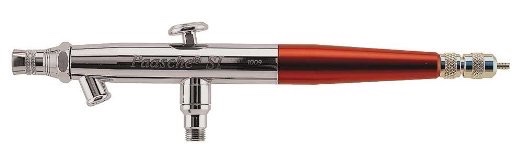
Boy howdy and GREAT DAY IN THE MORNING! Did I get a wonderful birthday present from my girlfriend, Little Bunny Sunshine! A Paasche single-action, internal mix airbrush! The Paasche SI to be exact. It’s right up my alley and just what I was hoping for. There are plenty of resources about selecting an airbrush that’s right for you out there; I won’t duplicate what they’ve already said.
I also got a set of acrylics to work with. I’m an enamels boy from way back. I’m not sure I can make the switch to acrylics, but I’ll sure give them a try.
Best of all, I got an exhaust booth to go with it, and that sucker looks great! I’ll have to seal the end with a towel in partially closed window until I get situated with something better for an exhaust port. Just hope that port’s smaller than womp rats in beggars canyon!

I’ll finish out the F-19 I’m working on and then figure out a space for this new wonderful toolset! Did I mention I got a Paasche compressor for it? I have an embarrassment of riches!


Despite an initial downer feeling from the broken pitot tube, I’m having a lot of fun with this one just feeling free and going totally by the book. I should be attempting to fill seams, etc. But I want the feel of a fun, quick win on this one to put some wind in my sails for whatever comes next.
The fuselage is coming together nicely, though storage spread out the two halves a bit. Some patient hand holding had the key places mostly set. Just need to give the wings the old clothespin-and-rubber-band treatment to get the seams as tight as possible. I also added the same reflective green to the intakes and jet engines in the rear to have it feel like there’s just a green glow coming from everywhere inside. Not sure how visible it will be later, but it’s fun to use such a bright color!

I’m kind of groovin’ on the X-Filesy feel to this concept fighter, and having fun since the nightmare of those F-15 intakes. I’m thinking of the whole Groom Lake / Aera 51-ness this thing generated back then. I’m going to make this a sort of ‘alien technology’ version. At least… alien lite.
Starting with the cockpit. I’ve got this metallic, sparkly, green-light enamel i’m going to coat a white washed interior with to push up the reflectivity. Keeping it really simple to emphasize the greeness. My hope is it glows through the canopy a bit from with reflective greeniness that brings to mind both night-vision and The X-Files.


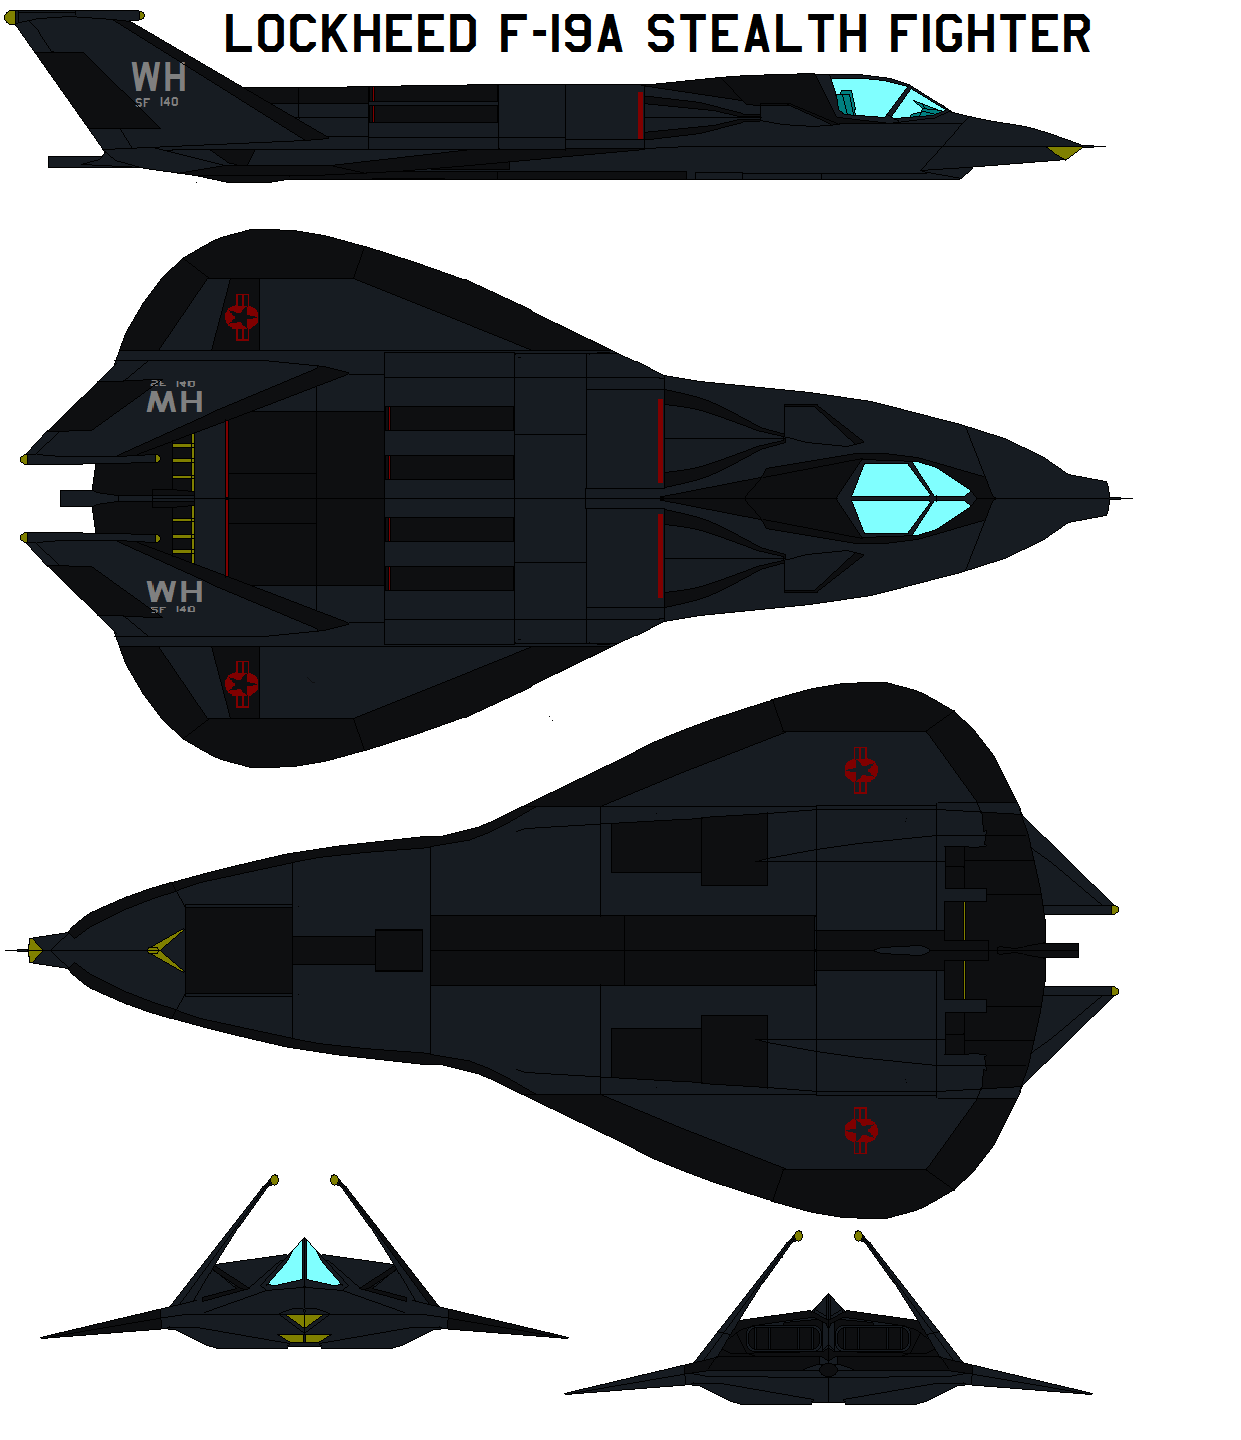
It’s the early 80s. You’ve read articles about a mysterious aircraft that’s invisible. INVISIBLE. It can’t be seen by radar, can’t be shot down. There’s a secret government program running it. No one in the government will admit it’s real!
THEN, reports of this possibly non-existent aircraft being shot down over the northwest, pieces of it scattered across the woods, and government cleanup teams moving in quickly to clean up every tiny scrap. No admission of even a crash! Cover stories, Groom Lake sightings! What is this thing some people are calling a STEALTH FIGHTER. What does an invisible airplane look like? Can I even see it at all? WHAT IS STEALTH TECHNOLOGY?
We didn’t know for sure then, but Testors took a really good stab at it, explaining pretty accurately what stealth technology was, if not what the aircraft itself looked like. But they were close in some ways even then. Many of the terms here were new to us: radar absorbing materials, smart bombs, and of course, “stealth” as a technology. They stretch the truth only a teensy bit saying stealth aircraft have been around for years, “Lockheed’s U-2, A-12, SR-71, and D-12 drone all utilized techniques which gave small amounts of radar countermeasures” – the A-12 and SR-17 were essentially variations on the same SR-71 design, as far as stealth is concerned. The D-12 was sort of a mini wing-and-engine-pup to the SR-71.
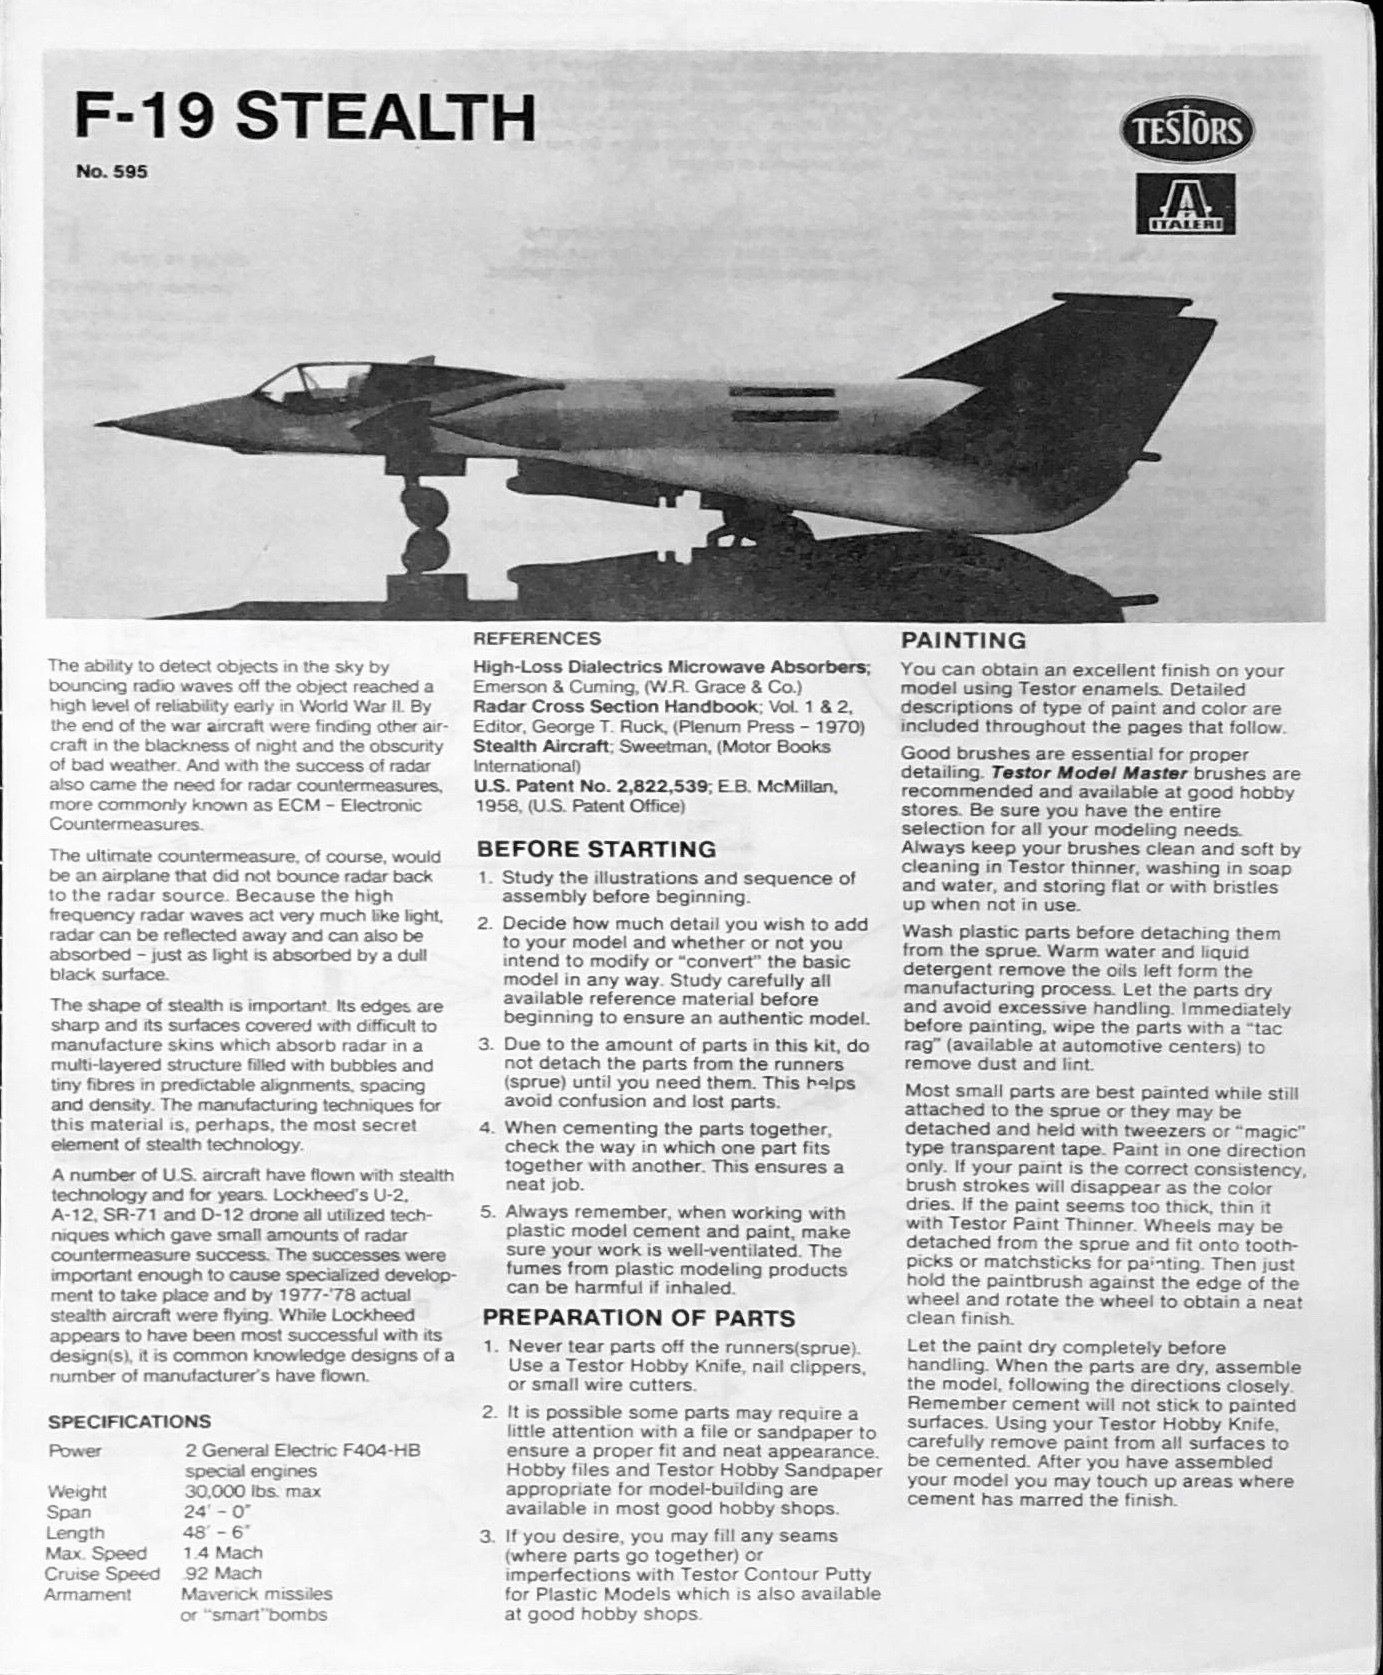
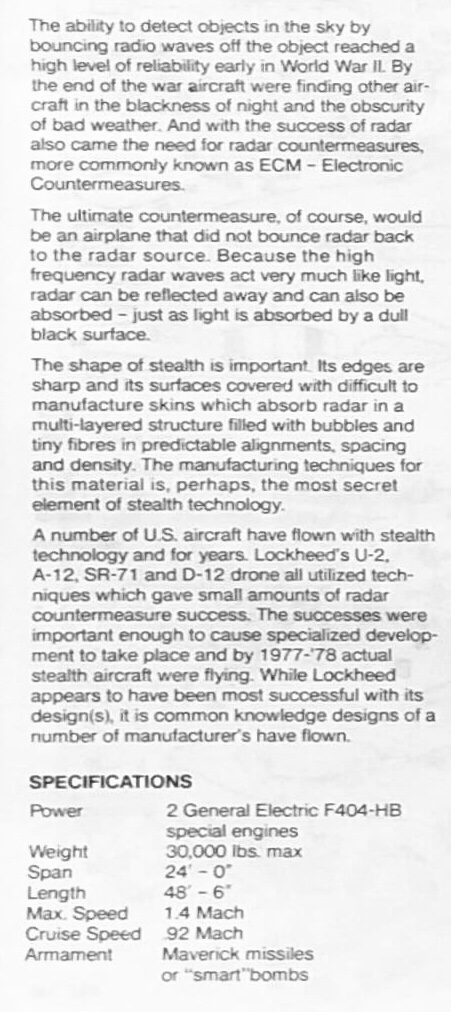
Testor’s concept model of the then mysterious stealth fighter was vaguely triangle-shaped like the real stealth fighter turned out to be (pear-shaped fits inside a triangle, right?), and employed special angles, seamless manufacture, and exhaust cooling like the real stealth fighter does.
No matter what, it’s pretty cool-looking or at least pretty fun. I had to have one of these back in the 80s and was so excited to have it finished and get some feel for what a stealth fighter might look like. If you’ve seen the old pictures of the ‘Have Blue’ stealth fighter prototype, you’ll see the tail fins even tip in instead of out like the Testor’s F-19. They must have had some decent contact who knew about the program.

Of course I had to also build Testor’s concept stealth MiG back then too, so I had a matched pair. Some how it was way cooler than the US stealth fighter in that delightfully freaky American conception of the Soviets we had in the 80s, ala Foxfire and other things.

I got my F-19 kit for cheap off eBay, looking a little smashed. The smashiness included breaking off the iconic pitot spike on the nose of the plane, so I’ll have to jimmy something up to make that work or remake it.
As an inexpensive model that’s already got some flaws, I’m going to have fun doing this one how ever I want. I think wheels up since I got kind of screwed out of that with the F-104 disaster. Should be a fun build!

I was excited to see in the extra kit I bought to get a replacement canopy, it had the old decal set I remembered from the kit when I did it in the 80s. Lots more selection and definitely crisper, cleaner text and graphics.
That said, I didn’t want to put all the decals on I did back then. Wow, every single “no step” is there and more. When you put that many of that kind of thing on, it can start to look out of scale. It’s not thing thing you’d see from about 100 yards, about the distance you’re viewing it from when you’re looking at it from a meter or so away.
I did try to attempt to replicate a detailing technique I used to do back in high school where I’d sweep a wash of flat black and thinner across the model to make details pop. That was something I’d didn’t remember very well how I used to do it and it took me 4 tries of putting on different applications of it and removing it all again. Not a great experience, but satisfied for now with the finish I got. Dullcote evened everything out.
The flat black / thinner wash. Need to make this work better.


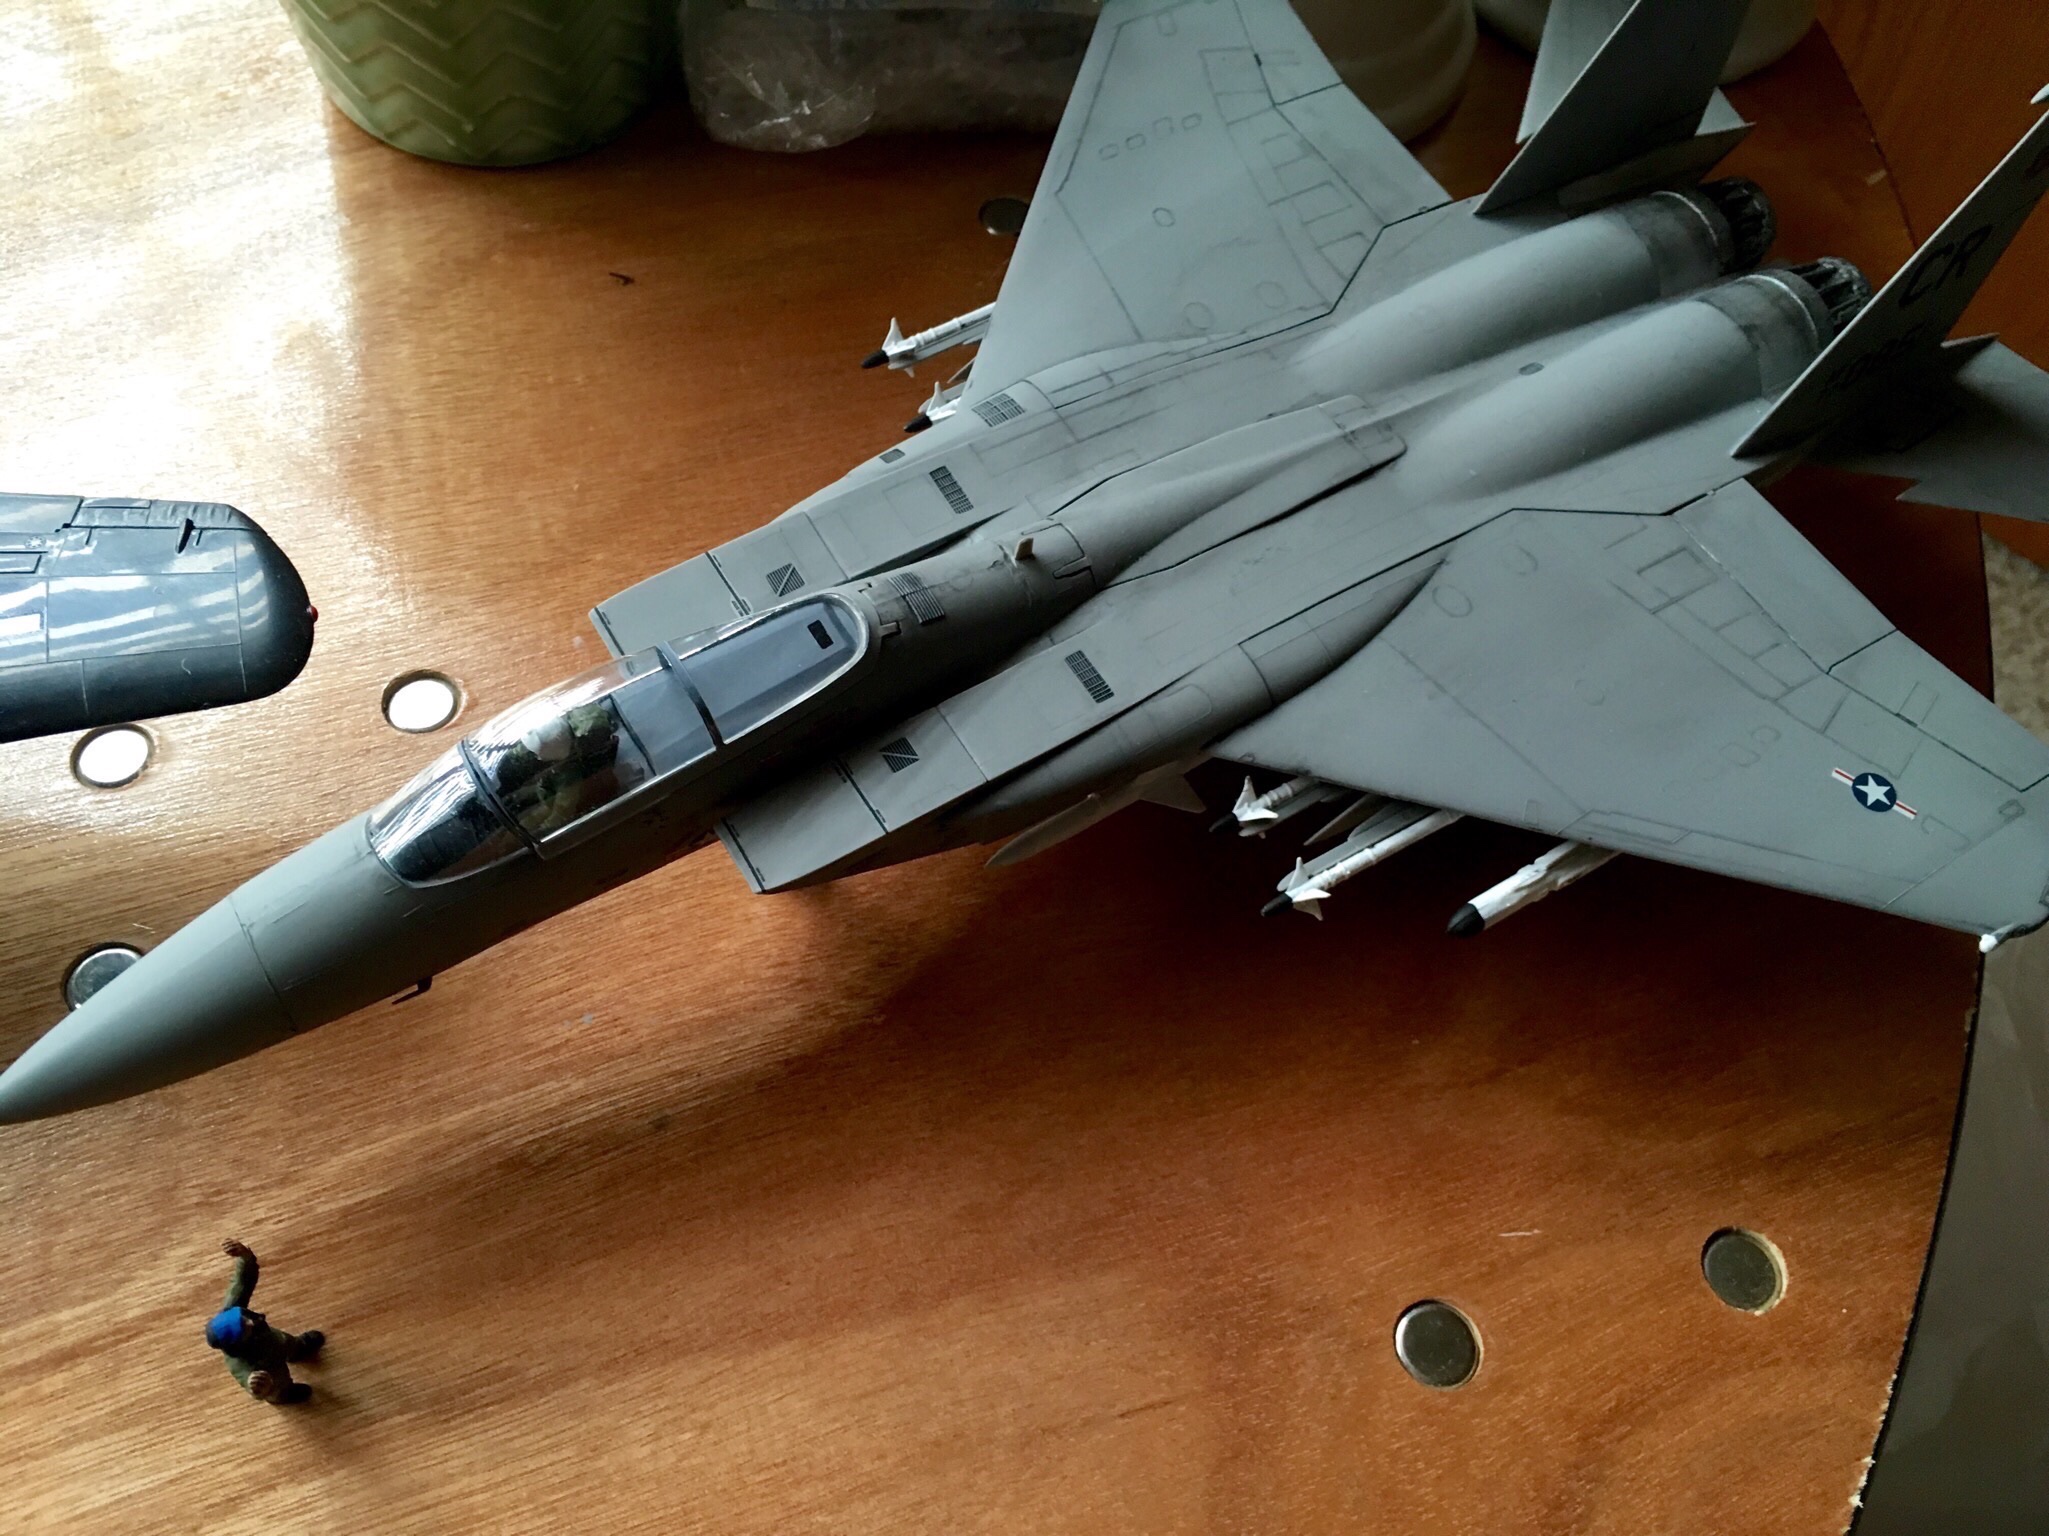
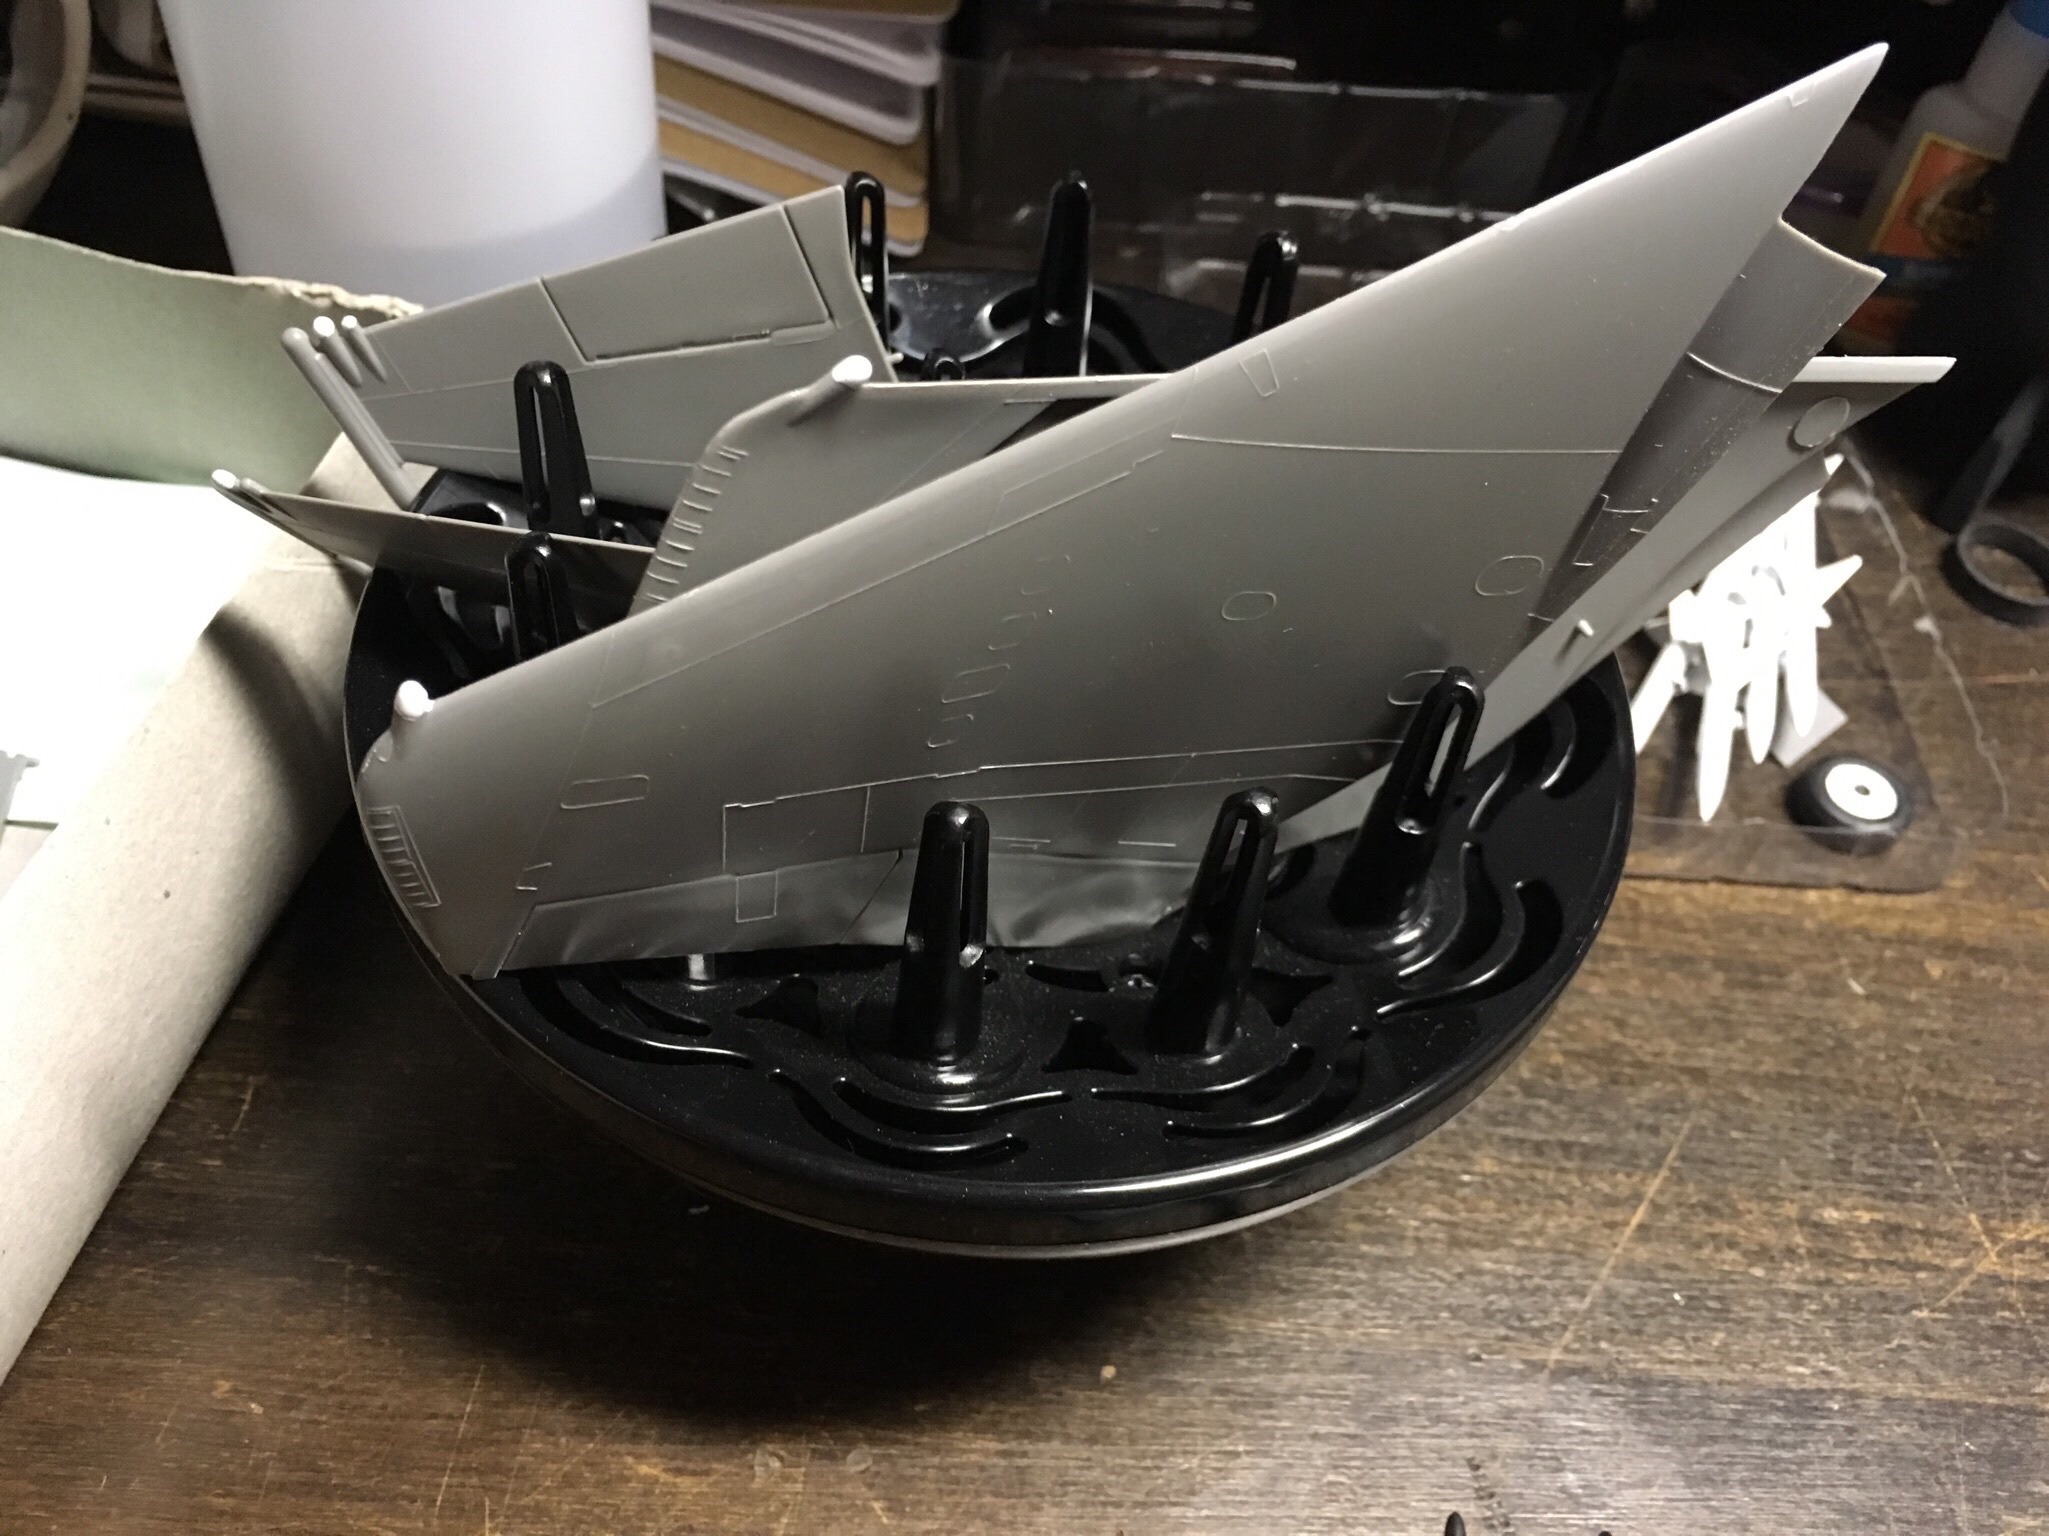
With the cockpit assembly finished and the nightmare of fuselage and intakes complete, the really fun stuff comes to complete. Getting the wings, missiles, tail, engines and decals on so we can put things together and get a dull cote on!
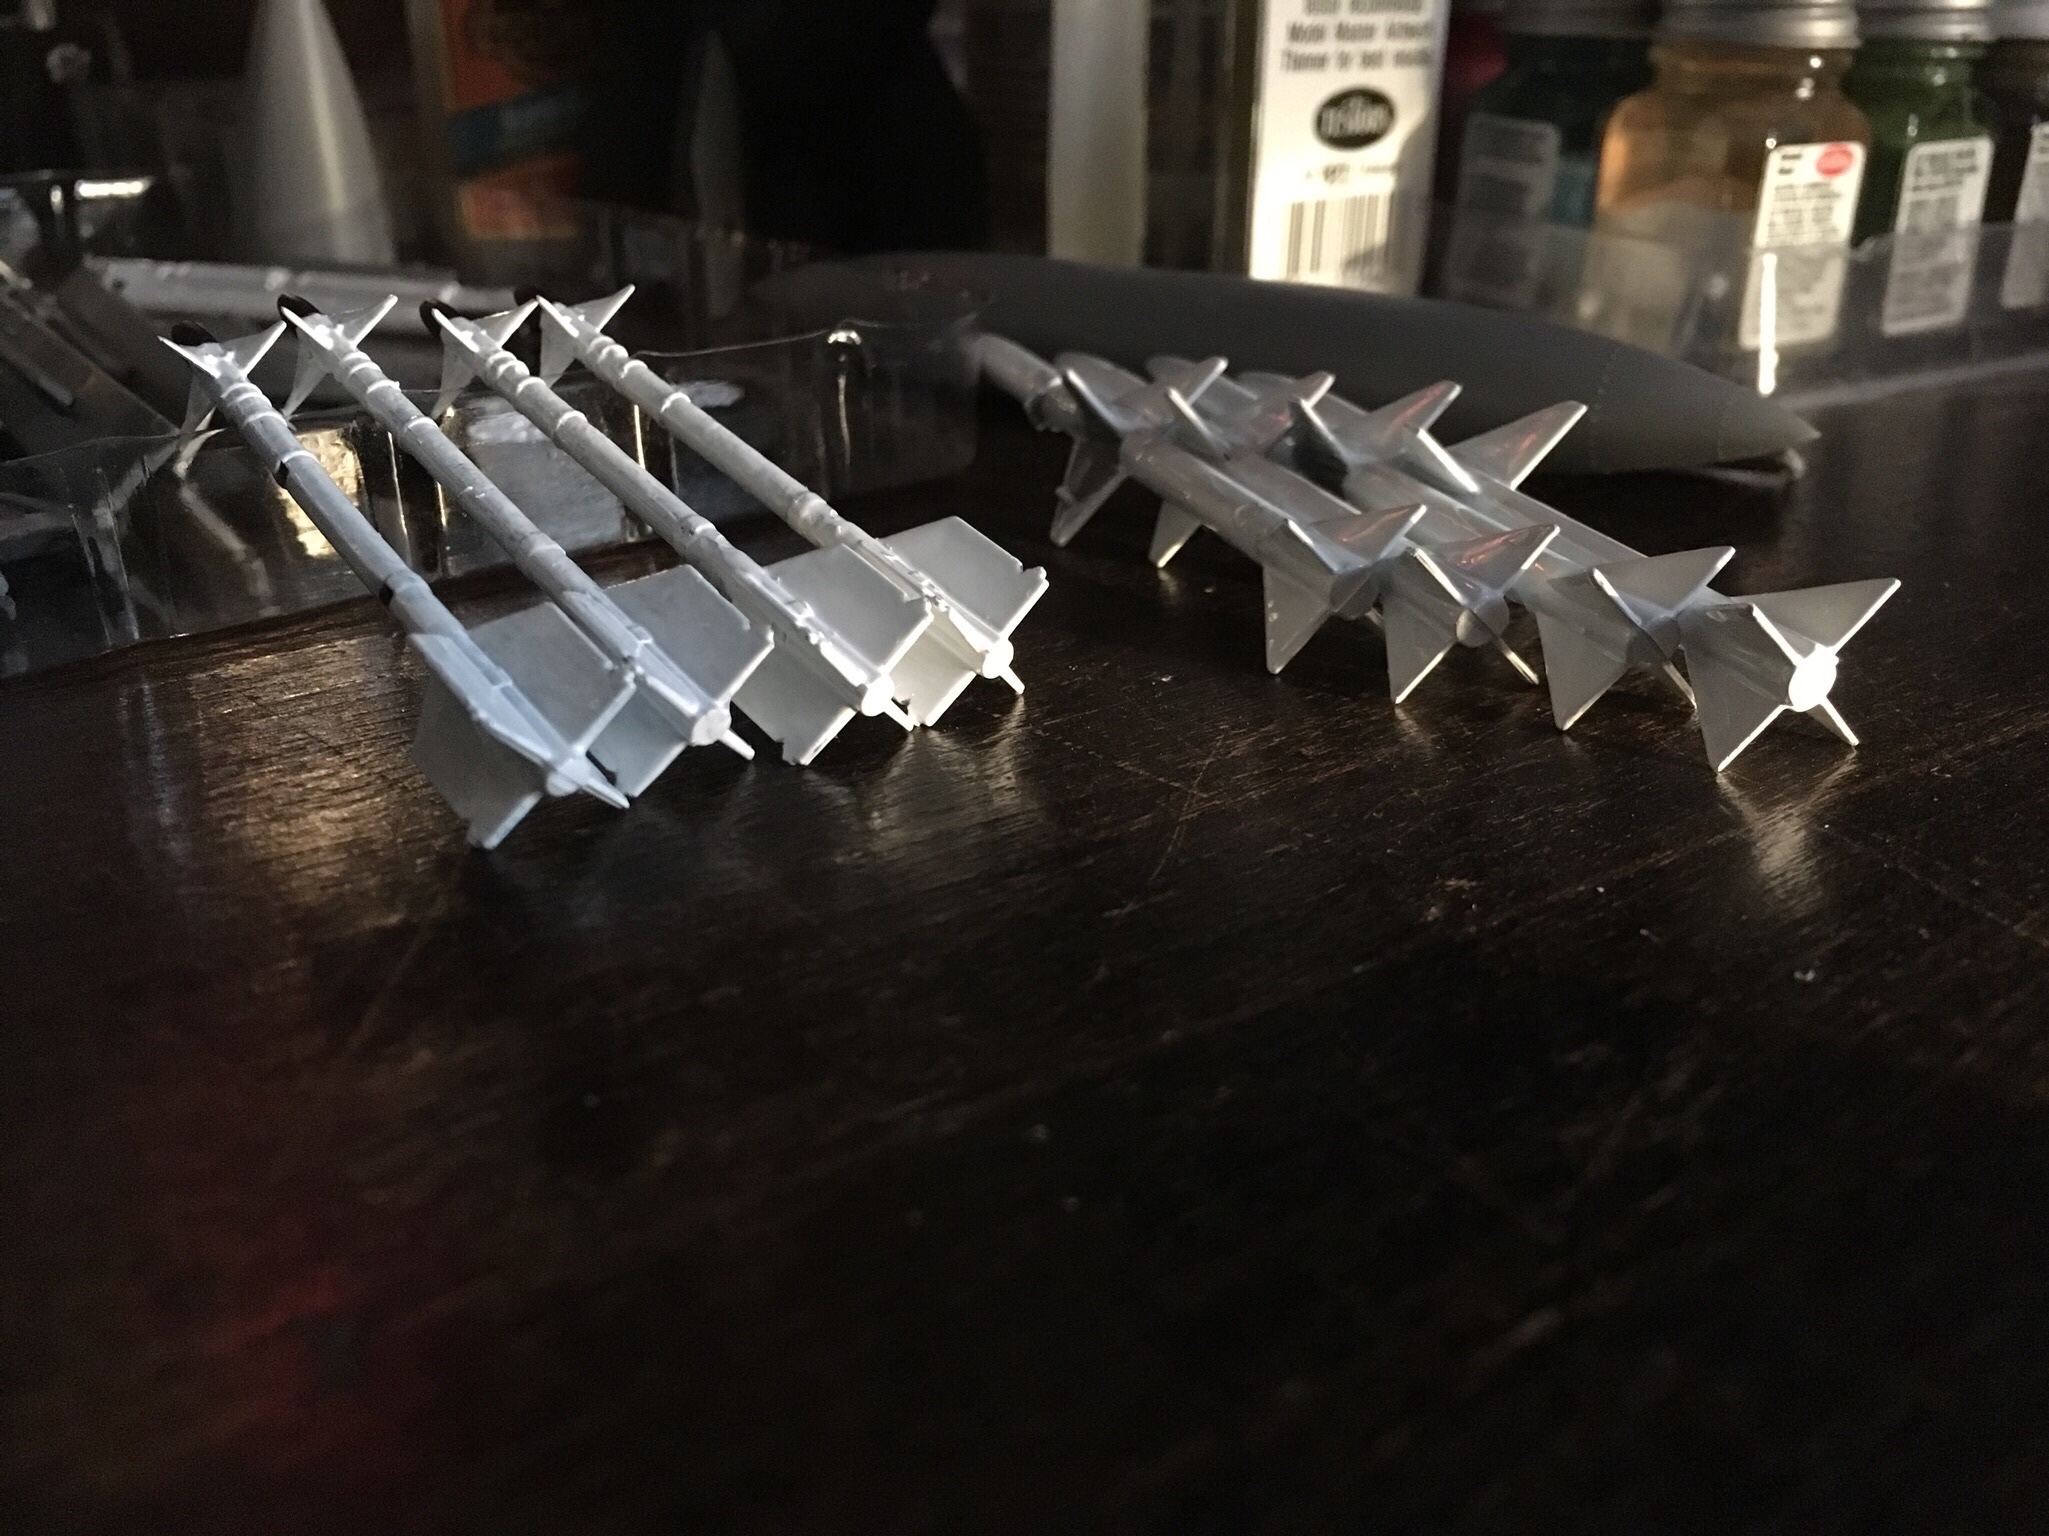
Missile painting, always a little bit of a drag
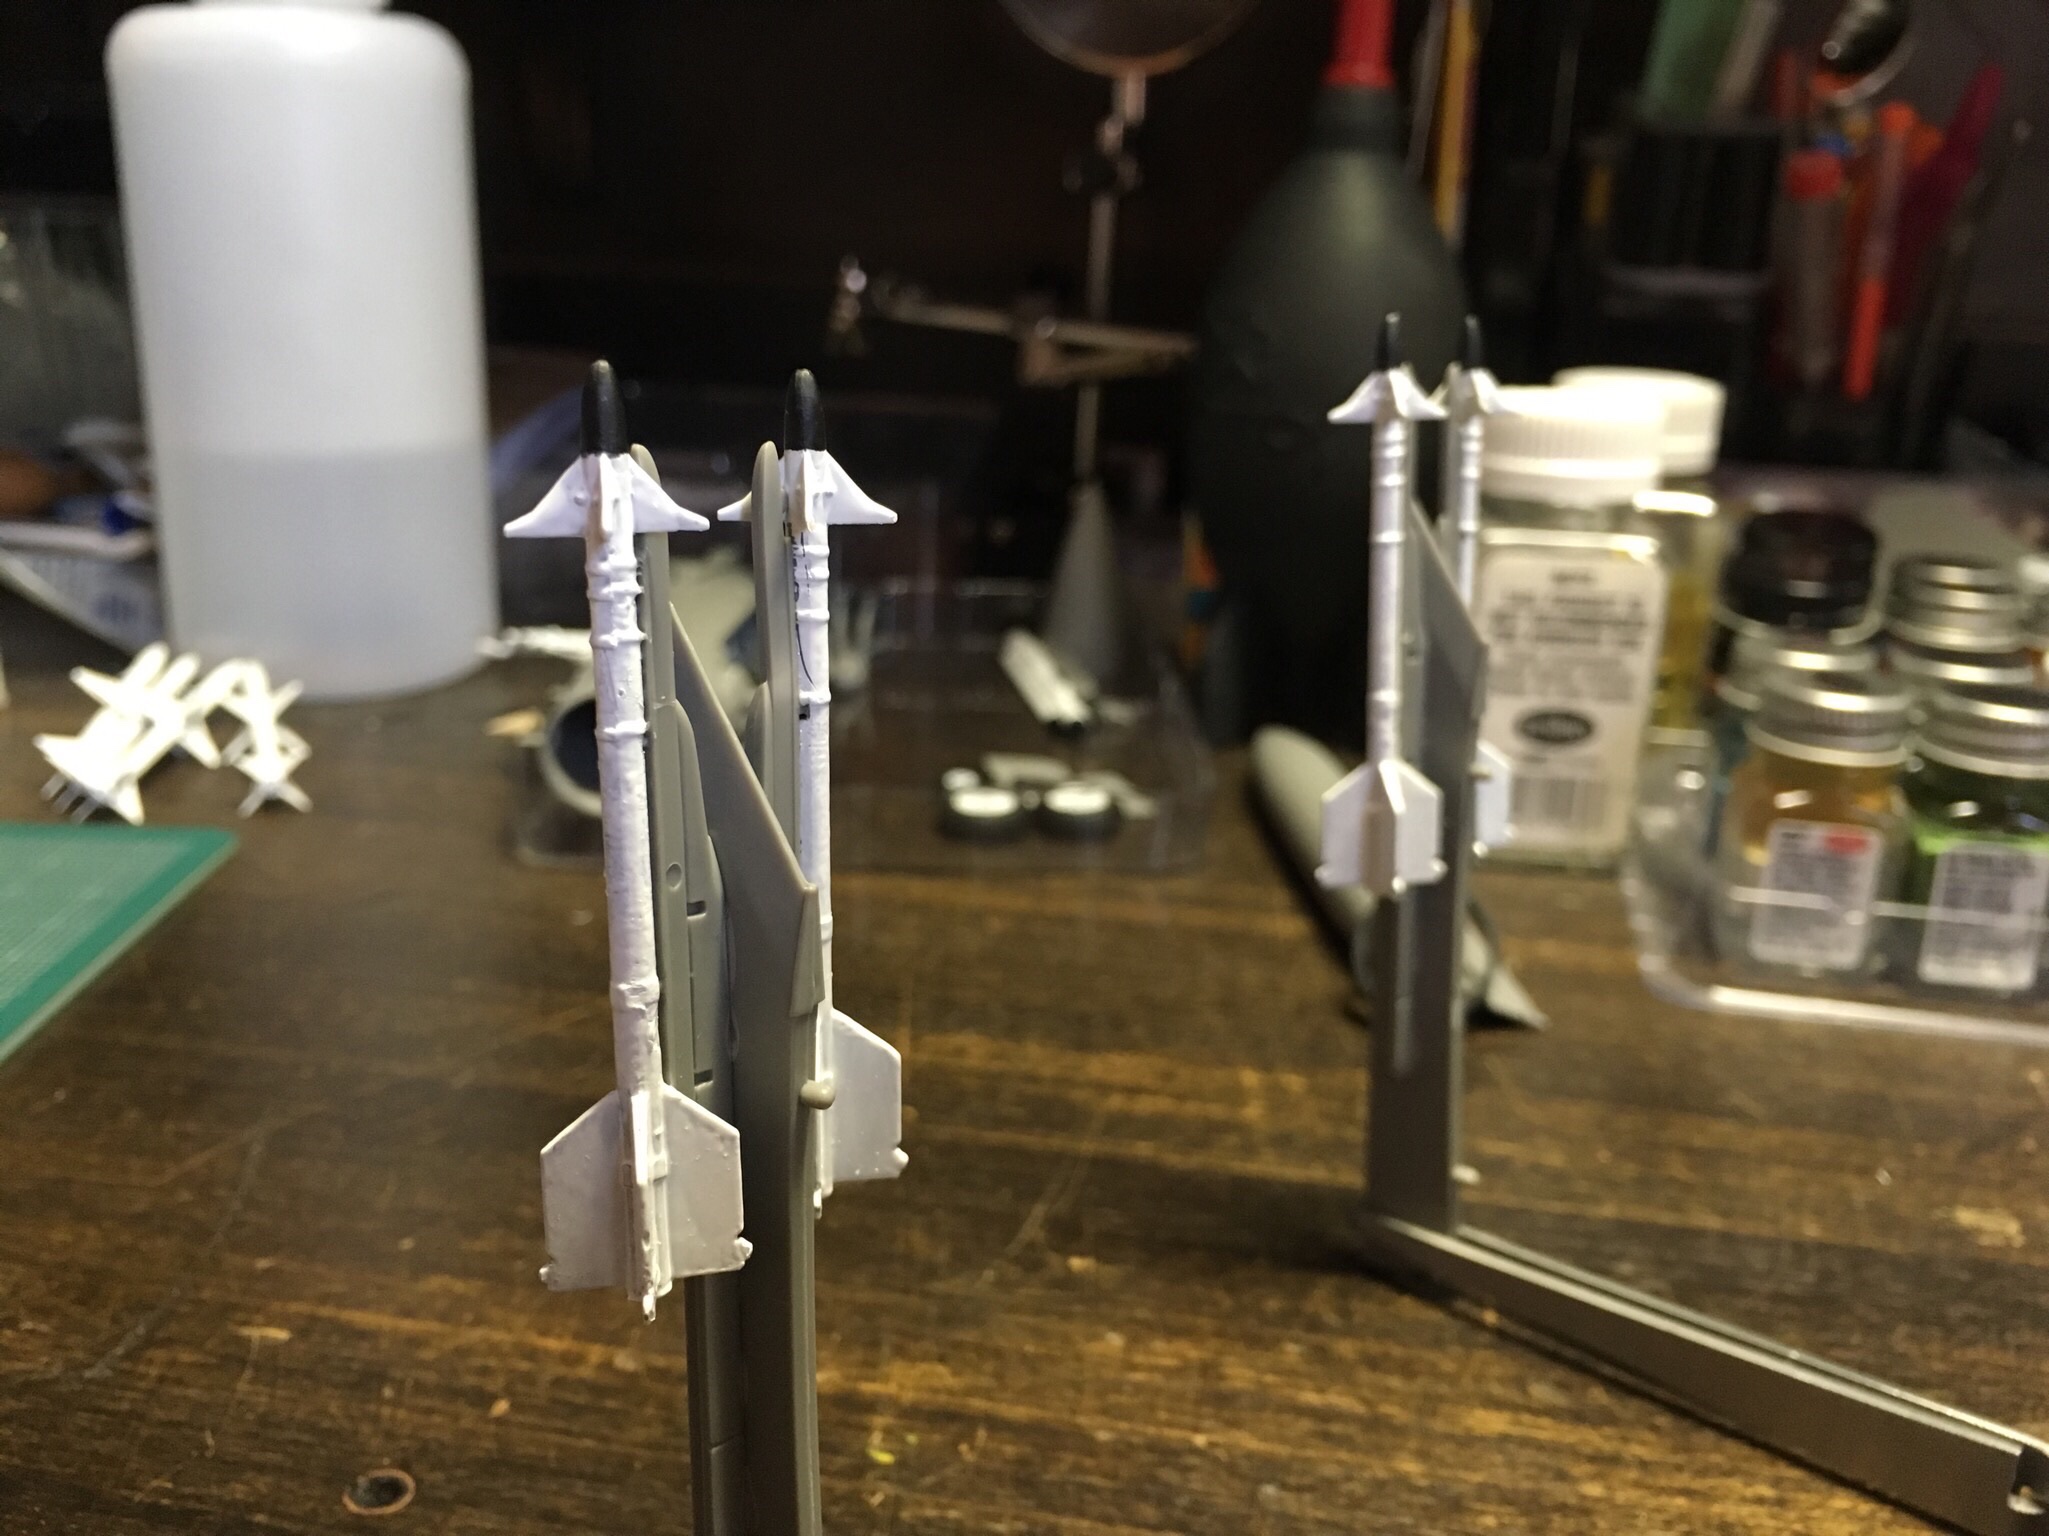
Missiles carefully, symmetrically set on pylon
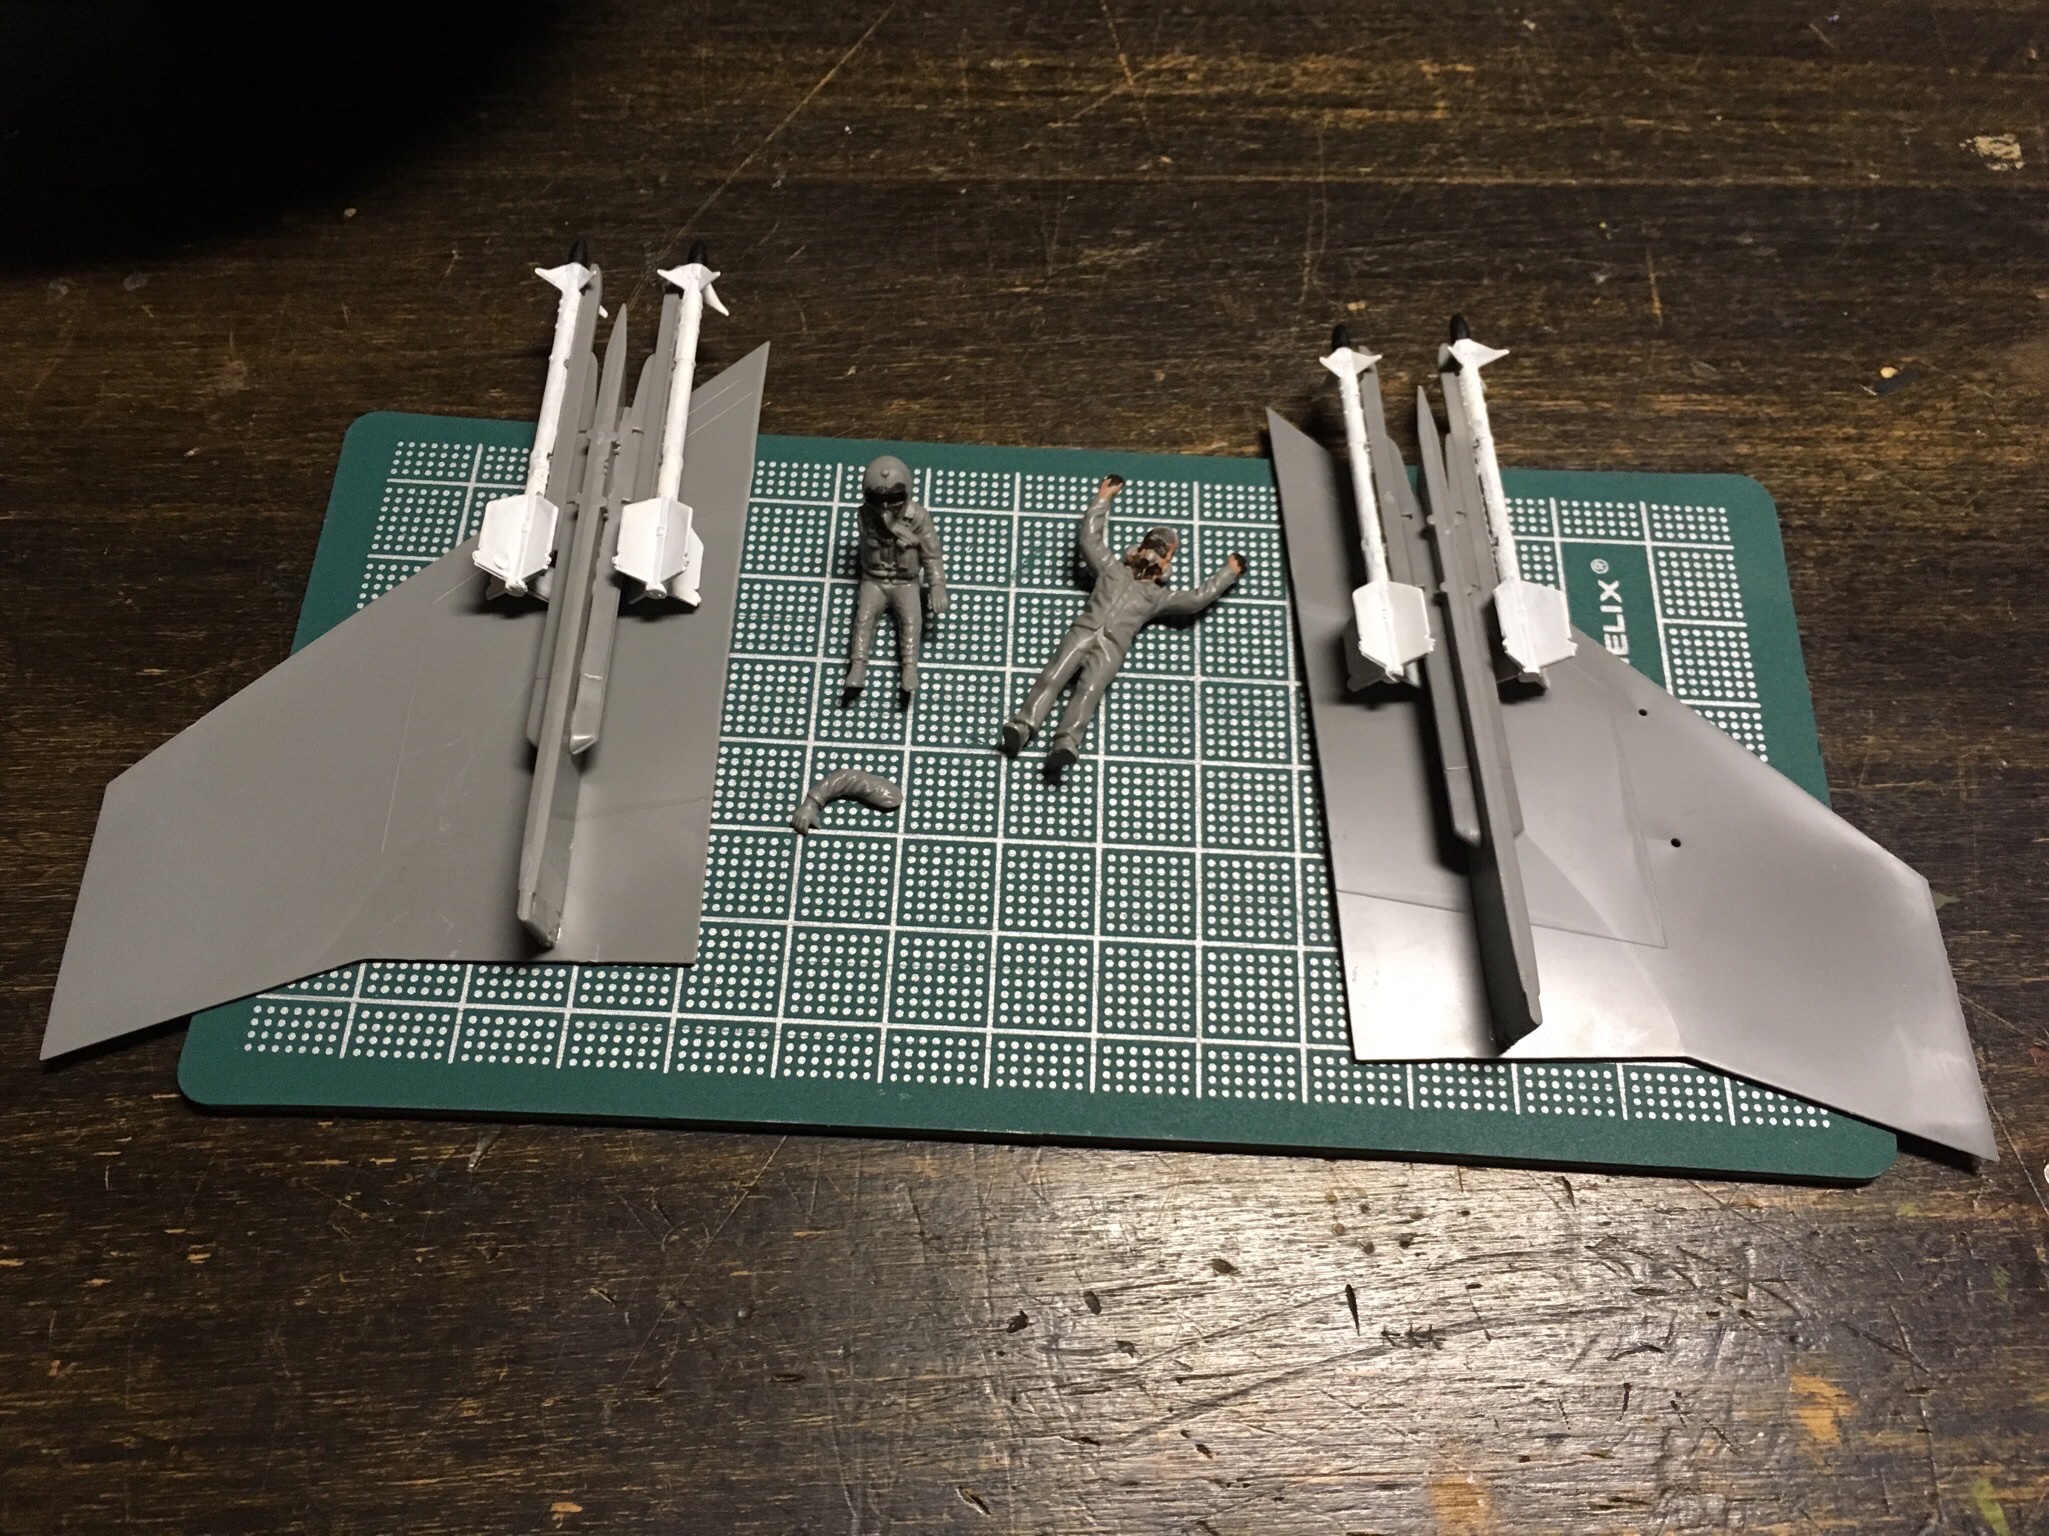
Under-wing ready, starting pilot and ground crew

