Testors Me-163 – Some time to start

Just getting my feet wet with this model and thinking about how I’ll be using my new airbrush for the first time.
I’ve been thinking about all the models I saw on boxes when I was a kid that had those hazy airbrushed camouflaged forms on them. I was envious of the ability to make that look so much like the real thing. As I’ve started working on this one, I have learned (not new to most of you out there) that sometimes the camo fades in gradients like that, but sometimes it’s clean, crisp lines too. All depends on the time, the camo needed, and the country doing the camo.
I’ve also read quite a bit about folks who re-scribe, re-rivet, re-everything sometimes when they’re working on sanding seams away or making panel lines correct. Some people are pretty fanatical about that kind of thing. I’ve mostly always tried to keep the lines as clean and still in place as possible while still removing seams, but I’m up for learning new techniques I didn’t use in the past.
As this model come to me for $2.50 from eBay, and as it’s pretty darn small. I’m up for experimentation and trying to go the whole nine yards. Within reason.
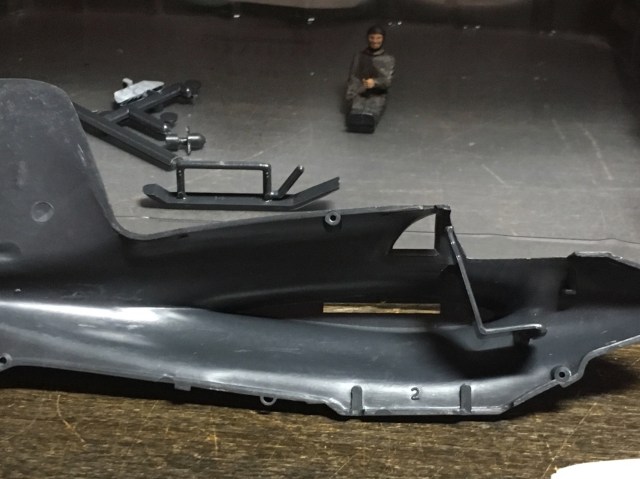
Not much of a cockpit in this Testors Me-163, but it’s not very visible either with cockpit closed. I’ll be going for detail where it matters on this one, mostly the exterior.