F-15 Eagle – Jet intake challenges – Part 2

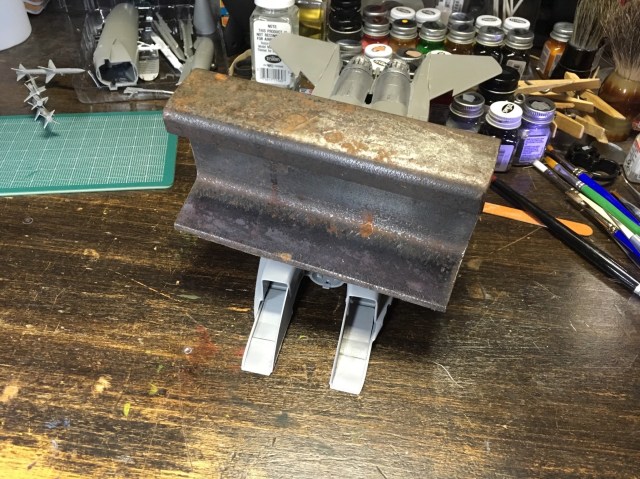
You’ll remember from last time, I got a piece of narrow gauge railroad rail that I can balance right to push down the arrow shapes into place. I was hoping that would hold things so I can move on to the next step. It went surprisingly well. There are gaps, but ones that should be hidden when the cockpit goes in.
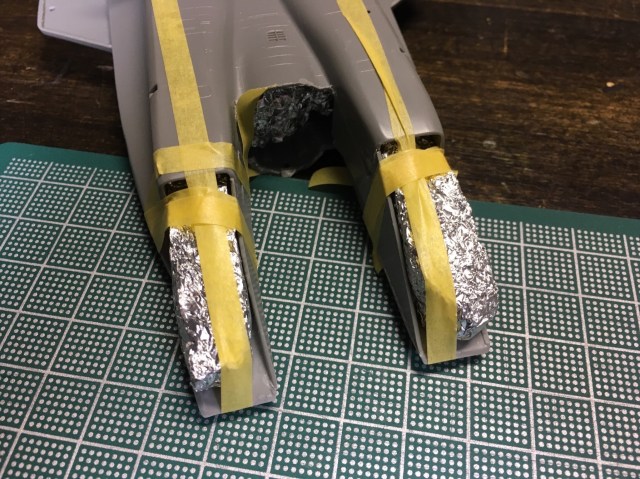
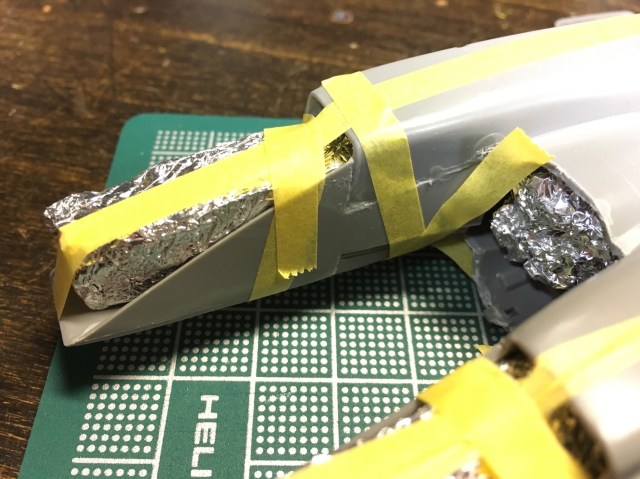
So now I’m going to use aluminum foil to create some custom ‘jigs’ that I’ll wedge into openings where I need the fuselage to keep the appropriate form. In some cases, they’ll also help to hold these panel pieces like the arrow shape and triangle shape where they belong from the inside. From the outside, Tamiya tape will pull in the pieces and act as tension clamps to pull things together.
First I’ll use it to secure the arrow pieces a bit better where they had gaps. When that’s set, I’ll use them for the triangle pieces on the outside of the intakes. You can see I’ve got foil jigs holding open spaces as needed.
These are very tightly bound ‘balls’ of aluminum foil I balled up and then literally hammered into shape. It takes a good amount of foil. You’ll see the two intake shaped ones and then the one in the middle of the fuselage is basically a cone shape. I may have to make a modified version of this one when I put the cockpit assembly in place to hold open the fuselage.
So far so good!