Technique: Replacing Broken Antenna Pegs on WWII Aircraft
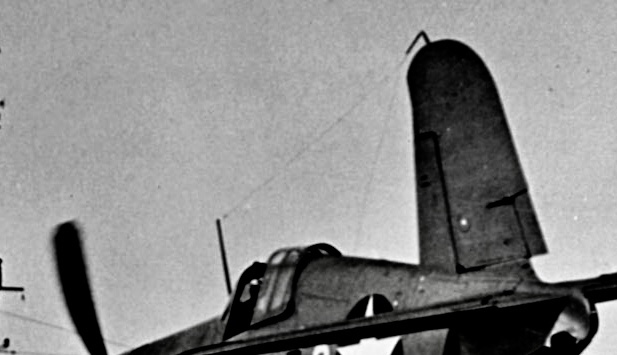
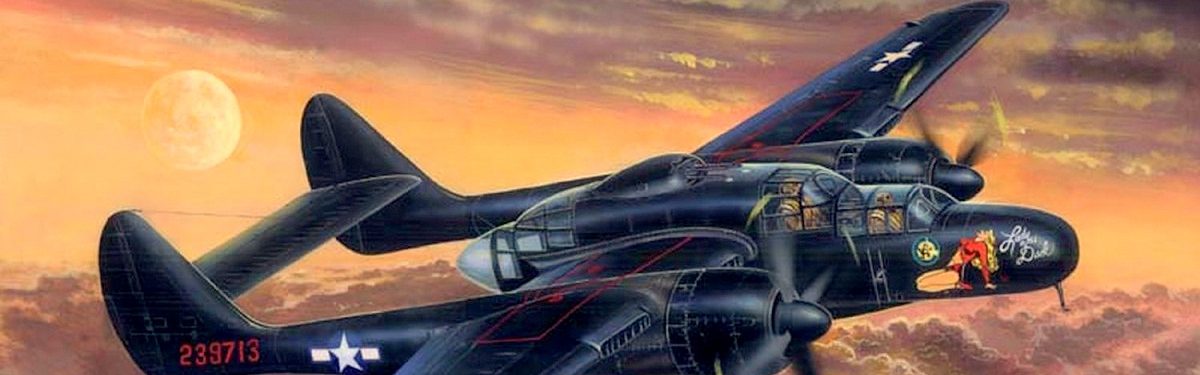
Often scale models of WWII aircraft will have antenna pegs molded to the fuselage or tail, meant to hold a wire communications antenna line as on the real aircraft. Sometimes these are pretty robust as on the Revell | Monogram B-17. Other times they can be pretty thin, flimsy, or already broken during shipping on smaller aircraft like fighters. They might be attached from the tail, fuselage, or a taller peg sticking up. Some older aircraft seem to be surrounded in these tensioned antenna wires.
Even the sturdiest pegs can easily snap off during seam sanding or when we’re doing our best just to handle the aircraft carefully. Most heartbreaking is having it happen when the model’s been long completed and you’re just dusting it or handling to reposition on the shelf. The safest route to repair is to spot sand or prep the area as needed, drill a replacement hole, and then replace it with a piece of styrene you fashion your self from leftover sprue or purchased styrene stock. This almost always works.
But what if I told you there was another way, a more dangerous way, but more durable way. You could replace with styrene and be right back where you started when you dust your model months later: a particularly disgusting predicament most modelers have faced — “I JUST FIXED THAT $#&^@! THING!”
You can turn that lemon into lemonade, but it’s going to take some careful work.
To replace the very tender pegs, you can use small wire segments. This is the crazy part: you’re going to make these wires a firm and permanent part of the aircraft to string a WWII era radio antenna on with some tension so it’s nice and straight, and takes the shelf-wear of dusting and handling for years.
I was fed up with this happening so I went for broke (which doesn’t always work out), kind of Bob Rossing my way into this idea. But with the gently-ripened patience that comes with age. Going for broke sometimes means thoughtful planning for what might have been a crazy plan. It’s hard to beat the durability of putting a metal peg in.
- Start by cutting thin wire segments to replace the pegs. I use floral wire or thin copper wire. You’ll want to choose a diameter of wire that matches the diameter of the plastic pegs you had, wire that stays rigid when pushed, and that will look in-scale. Make the segment long enough to handle comfortably, and capably with whatever pliers you’d use for something tricky or detailed.
- Remove alllll flammable chemicals, loose cloths, paper towels, kleenex, etc. from your worktop area where you’ll be doing this.
- Position the wire in your pliers in the position you’ll want it in to insert it into the spot where you’ll be replacing the antenna peg. Doing this will make sure you’ve got it ready to use comfortably after heating. Maybe even practice the movement you’ll need to insert the wire into the plastic.
- Using a small flame source (I used a culinary torch, but a candle can work), heat the end of your wire to red hot.
- Let the color go away, then patiently, but with purpose, put the hot end of the wire into the place where the plastic peg once was.
- Let the plastic firm up again before you release the position you’ve placed it in, so that if it’s so hot it melts lots of the plastic, there’s a better chance that plastic doesn’t move much and comes back to cool.
- Once the wire cools completely, use a side cutter (not your sprue cutter) to trim it down to the peg height you want. A little roughness on the top of the wire isn’t bad and will help keep the antenna you tie on from slipping off. I use paintable nylon thread for my wire – essentially very thin fishing line.
Tips
This is delicate, touchy work and several things could go wrong. Wobble that wire when it’s too hot, try to reposition it once it’s too cool, and you’ll either:
- go right through a part of the plastic you didn’t want to
- rip a larger hole in the plastic than can hold the wire in place
- shift the entire model as you try to insert the hot wire
- or push a warp into your plastic you can’t fix.
Try it out first on either a scrap piece from the same kit or the thinner number tabs on the sprue to get a feel for the melting action.
You’re probably working with a pretty much finished piece when you’re doing this. Think through the movement, practice it with a cool wire several times, and be sure to secure the piece you’re inserting the wire into very solidly so it doesn’t move on you.
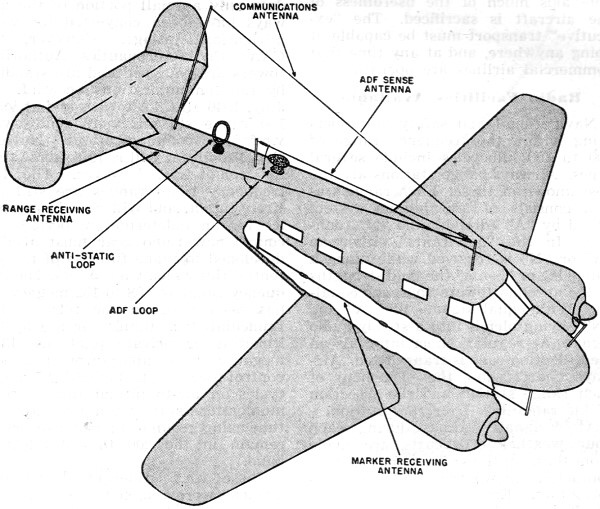
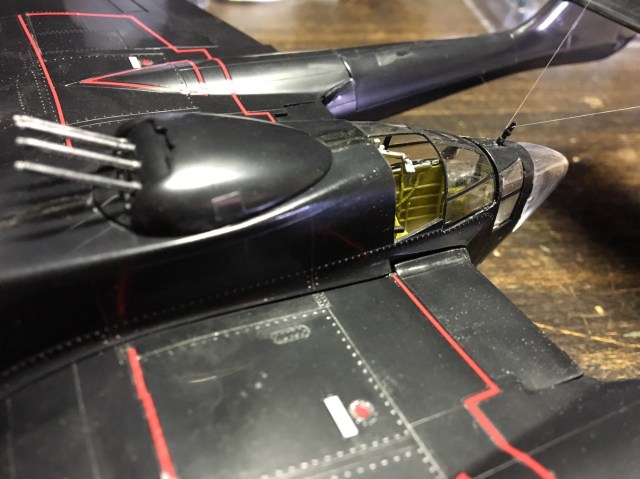
Now for the antenna itself. I had 3 pegs on this airplane (two on each tail and a peg just above the radio seat in the back, making a V with the antenna line. Like in the diagram above.
- Tie the antenna to the first peg and put a drop of small drop of glue on it.
- Bring the antenna to the second peg in the middle and pull some tension as you give it a few wraps around the peg.
- Hold that steady and put another drop of glue to hold those wraps in place.
- Once it sets, wrap your final peg with several turns or tie it on if you can get the tension you want. Put spots of glue on this to hold as you did with the second peg. When it sets, you’ll find it holds well too.
- Touch up with paint to match.
If one of them doesn’t hold or you didn’t like how the antenna sets, you can carefully remove the antenna with some xacto knife finessing, a little sanding on the pegs and try again.
PROS:
- It’s a rock-solid hold for WWII antennas.
- It stays shelf stable through dusting and handlings.
CONS:
- You could damage your model in a way that is very hard to repair, especially when you’re nearly done.
Could you drill a hole and put the same wire in, glued in place instead of melted and still have the same durability?
Absolutely.
Is that what you should do instead of melting a hot wire into your beloved, mostly finished model?
Almost certainly, yes.
